
By Sally Cunningham
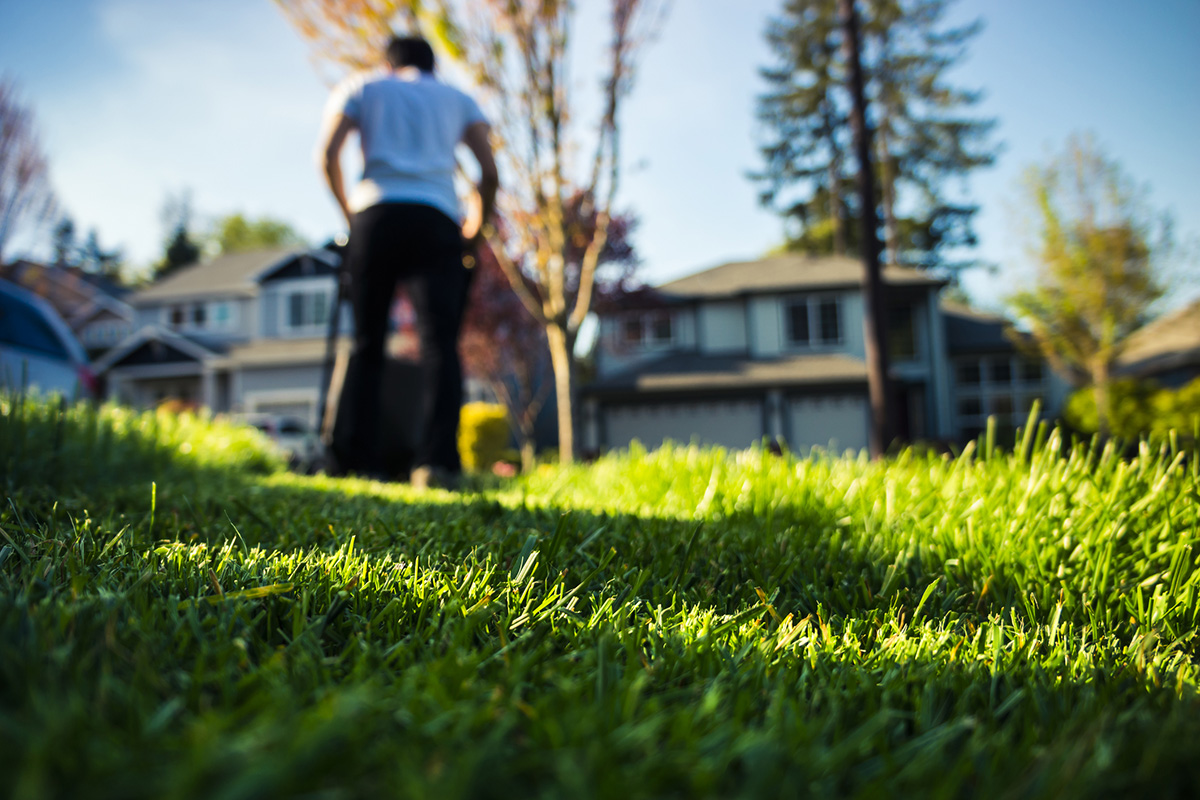
Bright, crisp days are common in October, offering plenty of time outside. These may be some of the prettiest and most comfortable weeks in the garden, and they are also the ideal time to prepare your yard for a better year to come. Your effort now will produce great results next spring.
PUTTING THE GARDEN TO BED
Dedicated gardeners may be found working in the yard until the ground is frozen late in November, but most people prefer to work outdoors in warmer temperatures and brighter days. These are the weeks for you to take some steps that will make next year easier.
Make better soil
This is a great time to acquire quality garden soil and compost. I recommend the Big Yellow Bag of garden soil, whether to make a new raised bed or to improve the soil in existing beds. (If you haven’t experienced it, you can order this product from Lakeside Sod staff and arrange for its delivery to your yard or driveway. The large bag (one cubic yard at least) ties up, so that you can protect any of the produce that you haven’t used before freezing time. It is so much neater and easier than trying to spread a mountain of soil or compost that was piled on your driveway, running off in the rain.
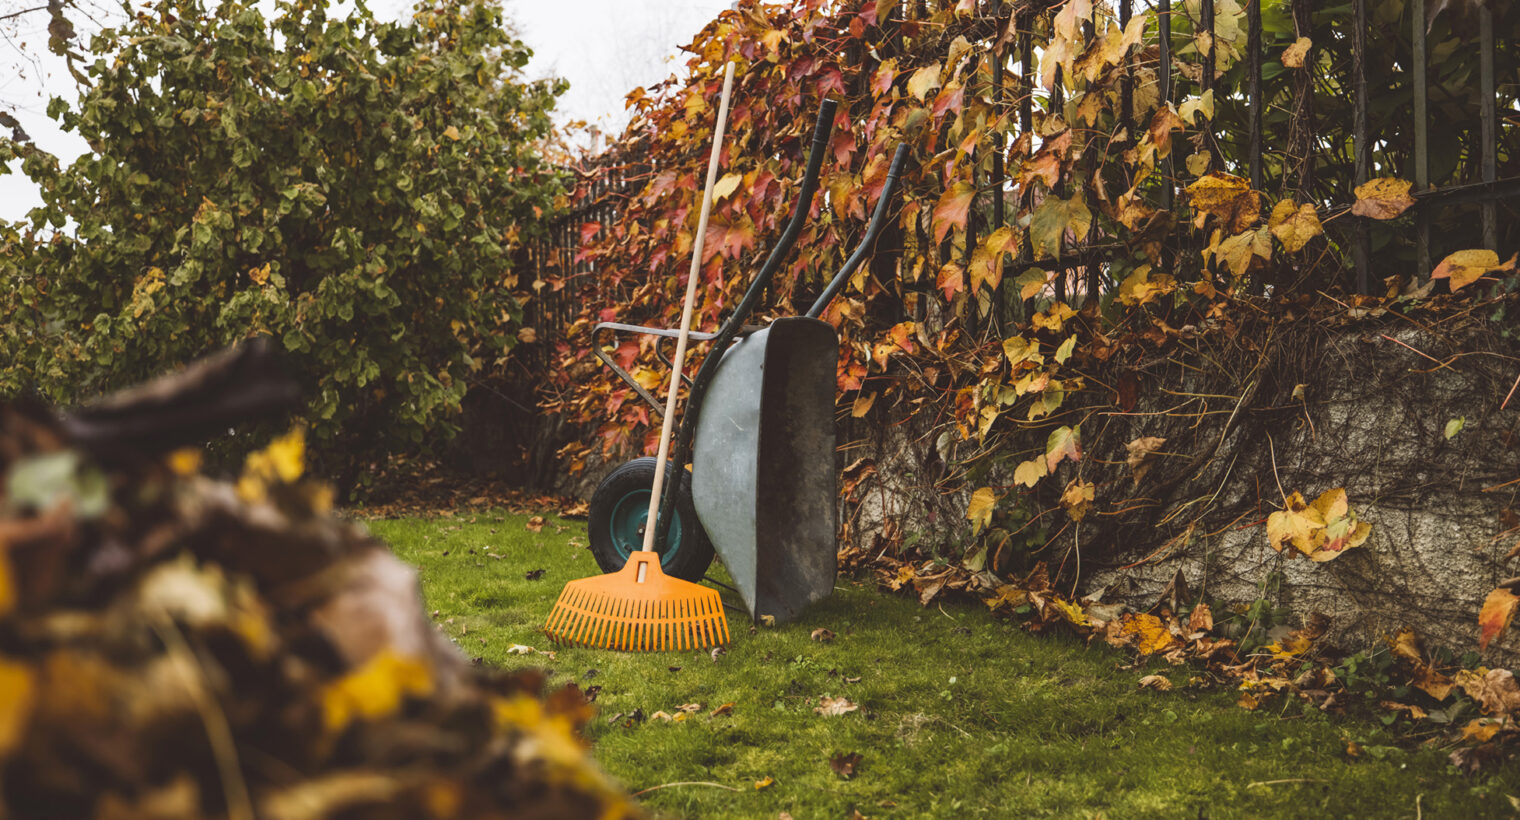
You can also improve next season’s garden and landscape beds by adding other organic mulch on top of the soil over root areas of trees and shrubs, or by covering perennials after the soil freezes. Pine needles are a beautiful mulch. Many gardeners rake leaves onto the landscape beds, ideally chopped up with a lawnmower first. Straw (not hay) is a great addition on top of raised beds or flat gardens. Rather than remove it at planting time, consider turning it into the soil in spring, or pull the hay apart and plant the new crop in the openings.
Woody landscape mulch is attractive and effective for blocking some weeds and keeping summer soil cool, but reserve its use for landscape beds. Do not turn it under the soil because it is very slow to decompose and the process uses up the nitrogen in your soil (that the plants ne4ed).
Never pile mulch against tree trunks or the crowns of shrubs.
Prevent Future Weeds
Three techniques make a huge difference in your labor next season. You don’t even need to know the name of the weed. Just observe them and take one of these steps:
- (a) Remove all the seeds. If you can pull the weeds, do so, but if not, just cut and discard the seed heads. Don’t compost them. Either bag them and discard, or bury them deeply in a trench.
- (b) Dig deeply to remove the whole roots of dandelions, mugwort, buttercups and other perennial weeds. (In many cases, chopping up such roots, as you till the soil, will multiply these weeds.) Do compost weeds that don’t have flowers or seed-heads.
- (c) Thoroughly smother large blocks of weeds, such as goutweed, poison ivy, Japanese knotweed, etc., with heavy black plastic or other mulch. This process may take a year or more, but it may be the only way to kill aggressive weeds without using herbicides.
If you have a vegetable or annuals garden that is entirely emptied, be sure to cover it completely—with leaves, straw, old carpet, or plastic. (It’s great to put unfinished compost and leaves under solid coverings such as carpet or plastic; they will decompose during the winter.) You will be so glad to uncover a weed-free space in spring.
GARDENING WITH BULBS
Bulb growing may be the easiest and most satisfactory kind of gardening. Even beginners can experience total success.
Choosing Bulbs
Spring-flowering bulbs are planted in fall—the sooner the better. Ideally plant them in October but If you find leftover bulbs in November, get them in the soil anyway. (They don’t store well over the winter.) Here are some bulb basics:
Which Bulbs?
Daffodils, technically called Narcissus, are the best choice for beginning homeowners and gardeners. You may find hundreds of cultivars, some with streaked or peach, white, or coral flowers, and they come in several heights. But most are bright yellow—the cheeriest possible sight as the snow recedes. Put them where you will see them in early spring, and where you can leave the foliage in place as it turns brown. (For example, behind a group of hostas or daylies, that emerge later.)
The advantages of daffodils are
(a) deer don’t eat them, and
(b) they will multiply year after year, unlike many other kinds of flower bulbs.
Tulips are the next most popular bulb, but deer and rabbits do eat them, and they tend to diminish over the years. Tulips come in many colors, heights, and times of bloom. Species tulips are shorter than others, more deer-resistant, and they do tend to naturalize. Plant tulips in small clusters for a pop of color, preferably behind or within a daffodil planting, or in raised beds or large containers where animals won’t reach them.
Other popular bulbs that are rarely bothered by deer are: Grape hyacinths, Crocuses, Fritillarias, Snowdrops, Hyacinths, Camassia, Alliums
Where to find them?
I always recommend buying locally and supporting professional garden centers and nurseries. Do check out the bags of bulbs they have carefully selected for you. If the garden center isn’t crowded when you go, you can get help from professionals in planning the colors and sizes that will go well together. If you do not find bulbs you want, then go online or to the catalogues. I personally recommend Brent and Becky’s Bulbs (www.BrentandBeckysBulbs.com) and Color Blends Bulbs ( www.colorblends.com). Both catalogues include excellent bulb growing advice. Buy the largest (for the species) and firmest bulbs you can find.
Planting Bulbs
Labels and catalogues will provide more detailed instructions, but these are the basic rules-of-thumb for bulb growing:
1 – Choose a sunny site, where bulbs will get at least six hours of sun per day
2 – Prepare planting beds with high-quallity, penetrable soil, with good drainage
3 – Plant bulbs with the pointy end up. (If it’s not obvious, plant them sideways.)
4 – Follow planting instructions regarding depth. Typical advice is: Plant bulbs about three and one half times deeper than the height of the bulb itself. (For example, a tulip bulb that is 1.5 inches tall should go about 5.25 inches down into the soil. A 2-inch tall daffodil goes 7 inches down.)
5 – Space them according to directions.
6 – Plant them in swaths and casual formations, rather than in straight lines (unless you are making a formal design). When in doubt, plant 25 of one or two kinds, rather than a scattering of many types.
7 – If you are in an area with rabbits, squirrels, chipmunks, and voles, cover the planted area with chicken wire, storm windows, screening, etc. Cover with attractive mulch. (In spring, remember to remove coverings as the shoots emerge.)
Start your bulb beds today for a beautiful spring!
Now imagine April and May next year, as you see your landsape and garden beds with the bulbs popping up and no weeds in sight! Happy gardening.
* * *
Sally Cunningham is a gardening and landscape expert from WNY. She is known for many years on Channel 4 (WIVB-TV), and writes regularly for The Buffalo News and Buffalo Spree magazine. Her most recent book, Buffalo-Style Gardens, defines and praises the wonderful private gardens of our region, with design and gardening tips throughout. (Co-author Jim Charlier; St. Lynn’s Press.) It is available at Barnes & Nobel, The Bookworm, Talking Leaves, and some area gift stores and garden centers.) www.buffalostylegardens.com