
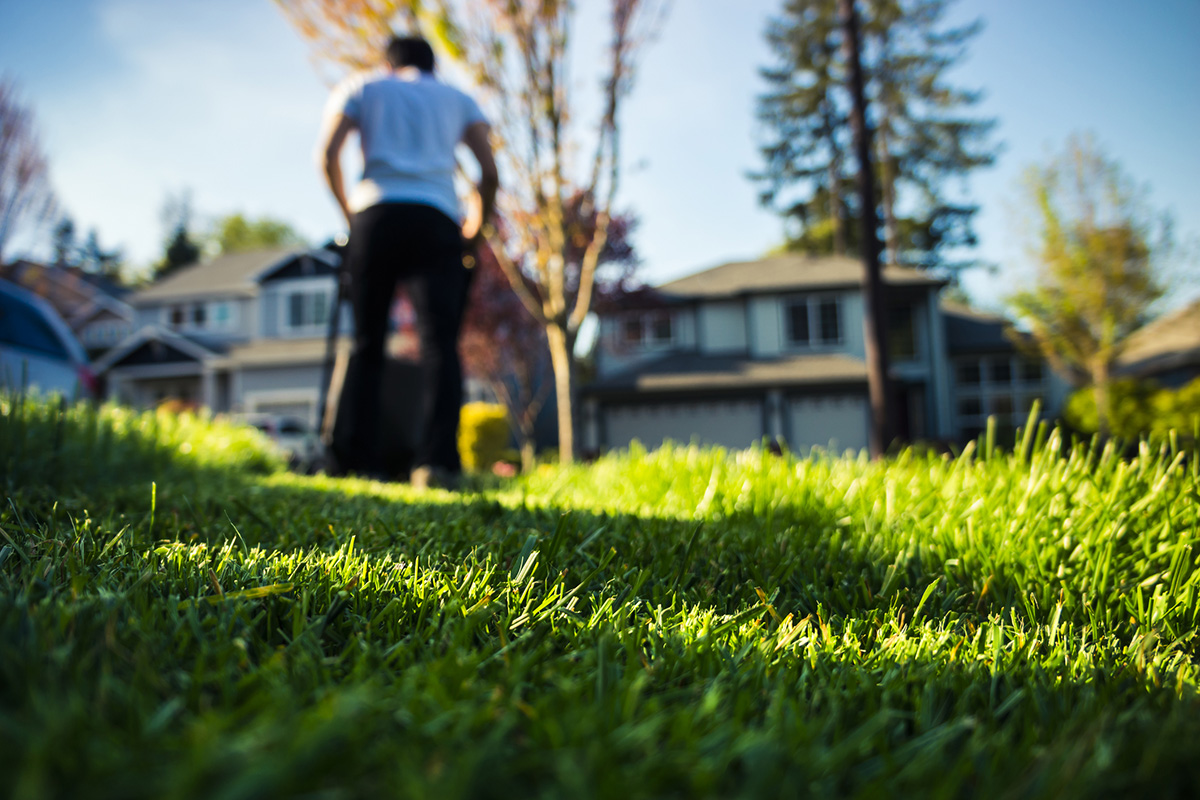
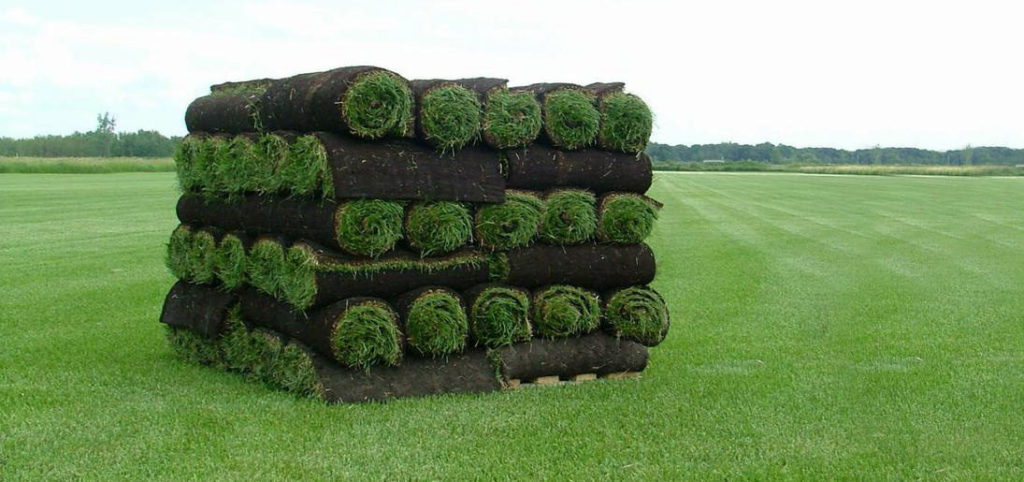
Cultivated turf allows you to enjoy a lawn of instant beauty and maturity without the usual time-consuming hassles of seeding.
When purchasing turfgrass sod, consult a member of the Turfgrass Producers International (TPI) in your area, to be assured that you are getting the finest quality turf available. The following are the basic steps to a beautiful lawn. Check with your local TPI member for any further recommendations for your specific area.
STEP 1 – Measuring and Ordering
With a tape, measure the area of your planned lawn. Include these measurements on a sketch of the lawn area, with the length, width, and any unusual features. Your local TPI member will be happy to assist you in determining the amount of turfgrass sod you will need from your sketch.
STEP 2 – Soil Preparation
For best result, rototill or spade the area to a depth of 10 to 15 cm. (4 to 6 in.). Eliminate drainage problems by having soil slope away from foundations, etc.
Soil test your lawn area with the assistance of qualified service in your area. Then rake in fertilizer, lime, peat, compost, etc. as need to a depth of 7 to 10 cm. (3 to 4 in.). Roll the area lightly with a lawn roller 1/3 full of water. Water the prepared area to settle soil and provide a moist base for turf.
STEP 3 – Turf Installation
Install your lawn immediately upon delivery. Begin watering lawn within 30 minutes of installation. Turf is a living plant that requires ground contact and moisture to survive!
Begin installing turf along the longest straight line, such as a driveway or sidewalk. Butt and push edges and ends against each other tightly, without stretching. Avoid gaps or overlaps. Stagger the joints in each row in a brick-like fashion, using a large sharp knife to trim corners, etc. After installing the turf, roll the entire area to improve turf/soil contact and remove air pockets.
STEP 4 – Watering
Give your new lawn at least 2 to 3 cm. (1 in.) of water within 1/2 hour of installation. Water daily, or more often, keeping turf moist until it is firmly rooted (about 2 weeks). Then less frequent and deeper watering should begin.